
Last updated August 26, 2026
Free on-site gate assessment - hinges, posts, and your LiftMaster or Nice gate operator checked before anything is quoted
The assessment is free and the quote is the invoice.
 Before
 After
After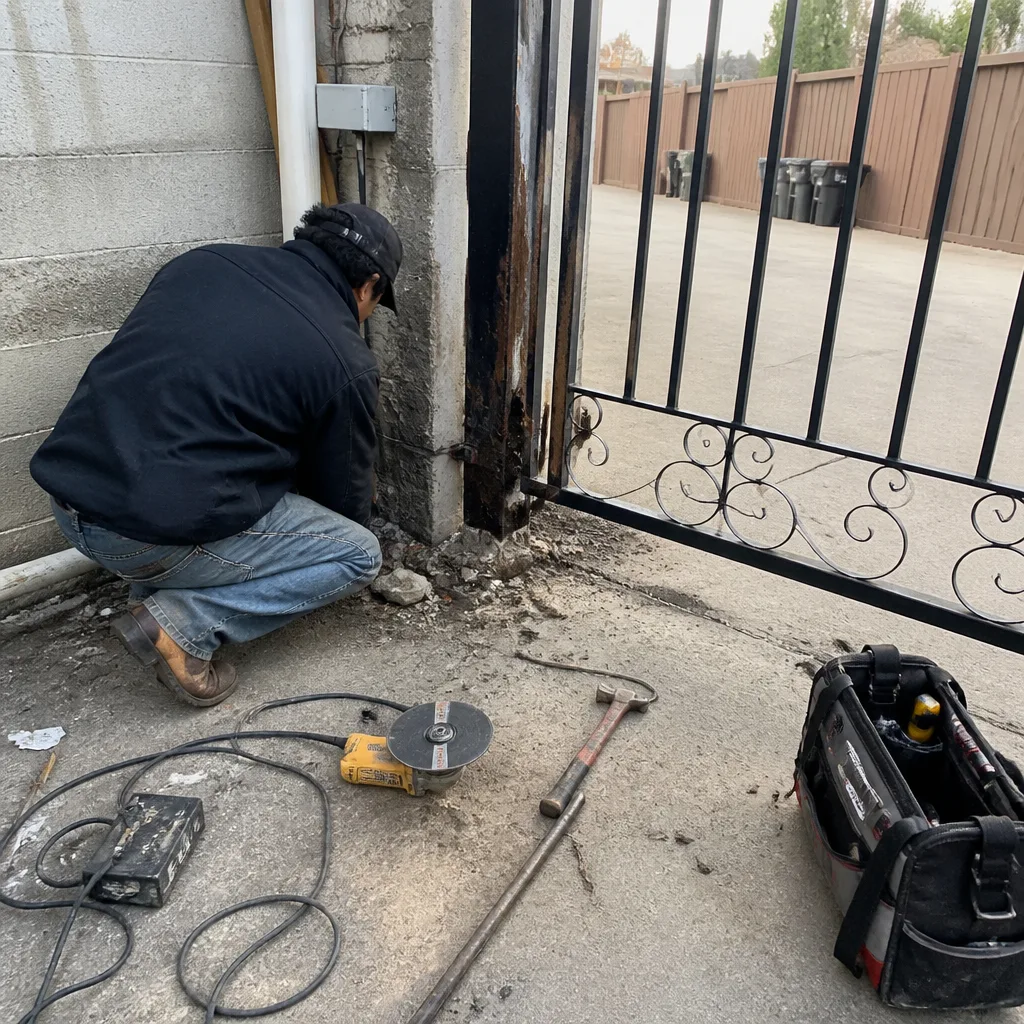 Before
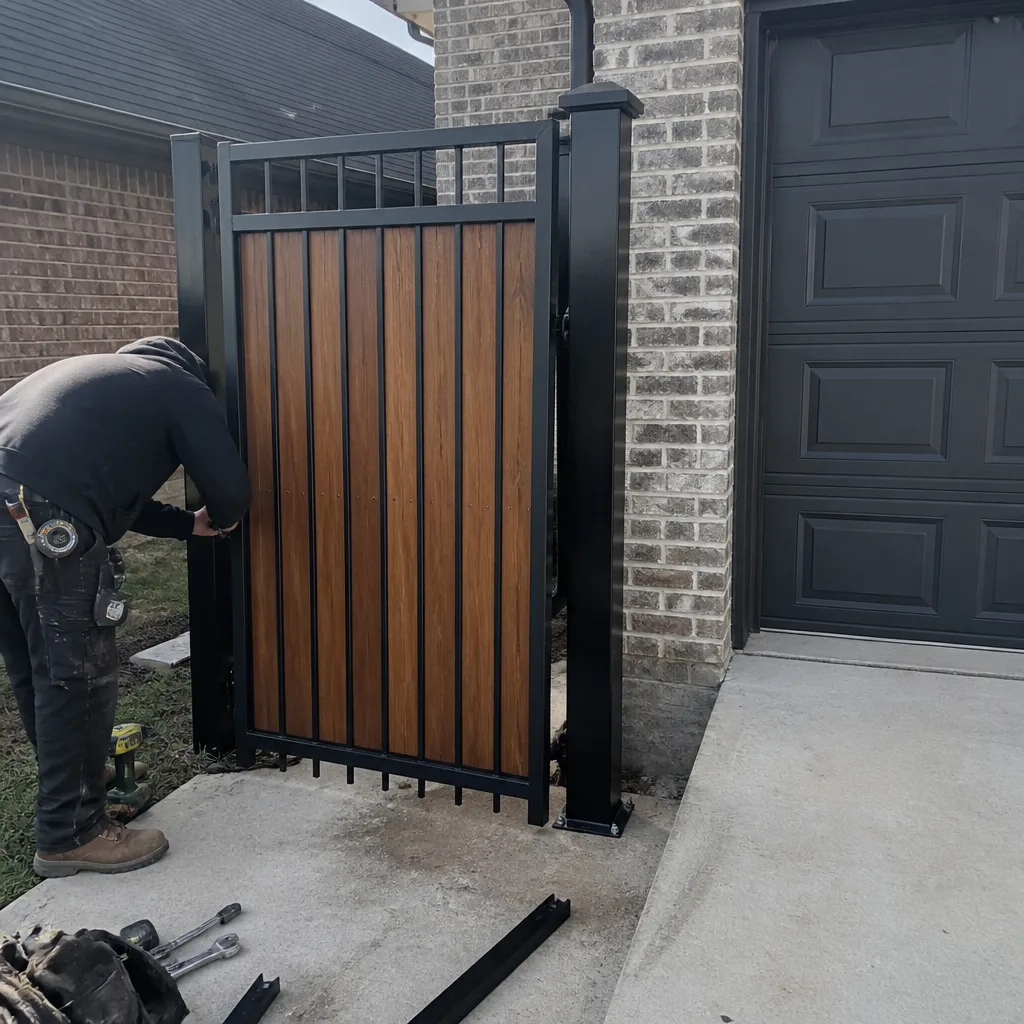 After
After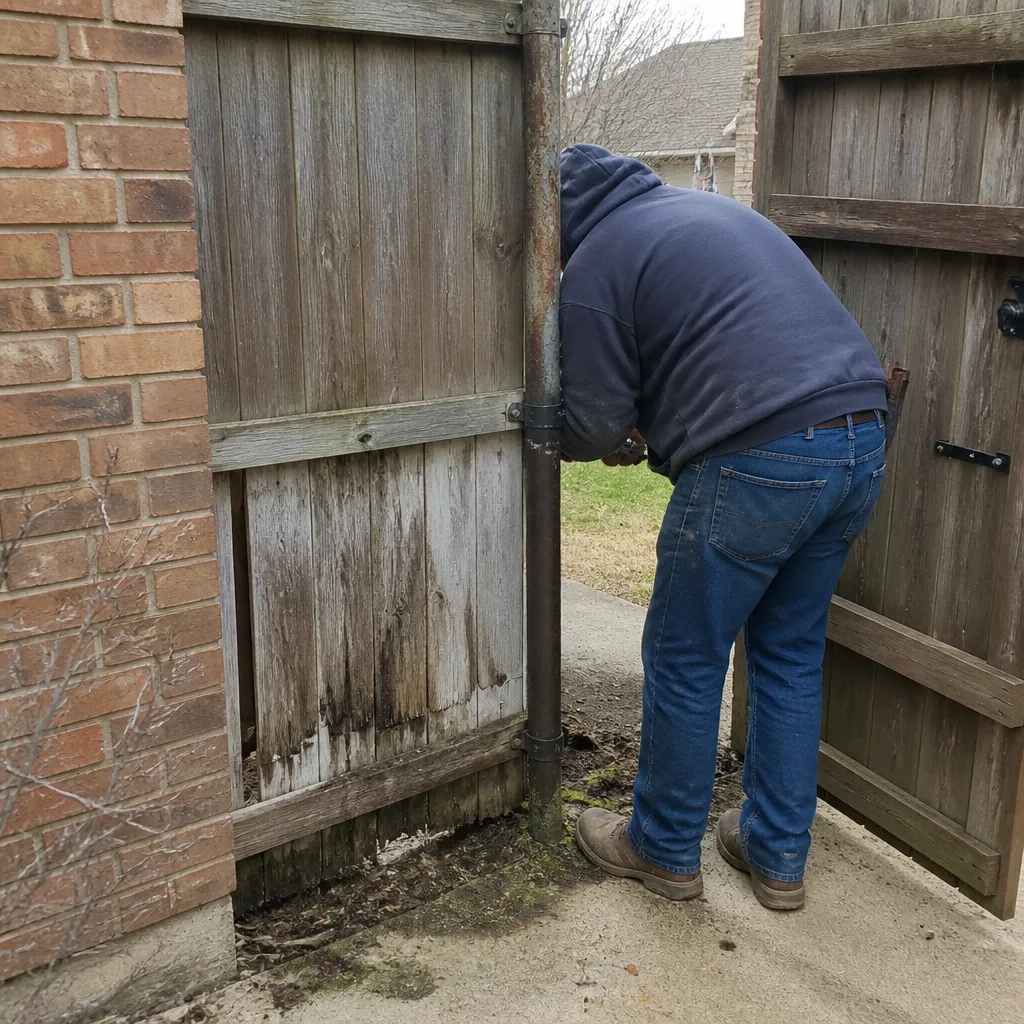 Before
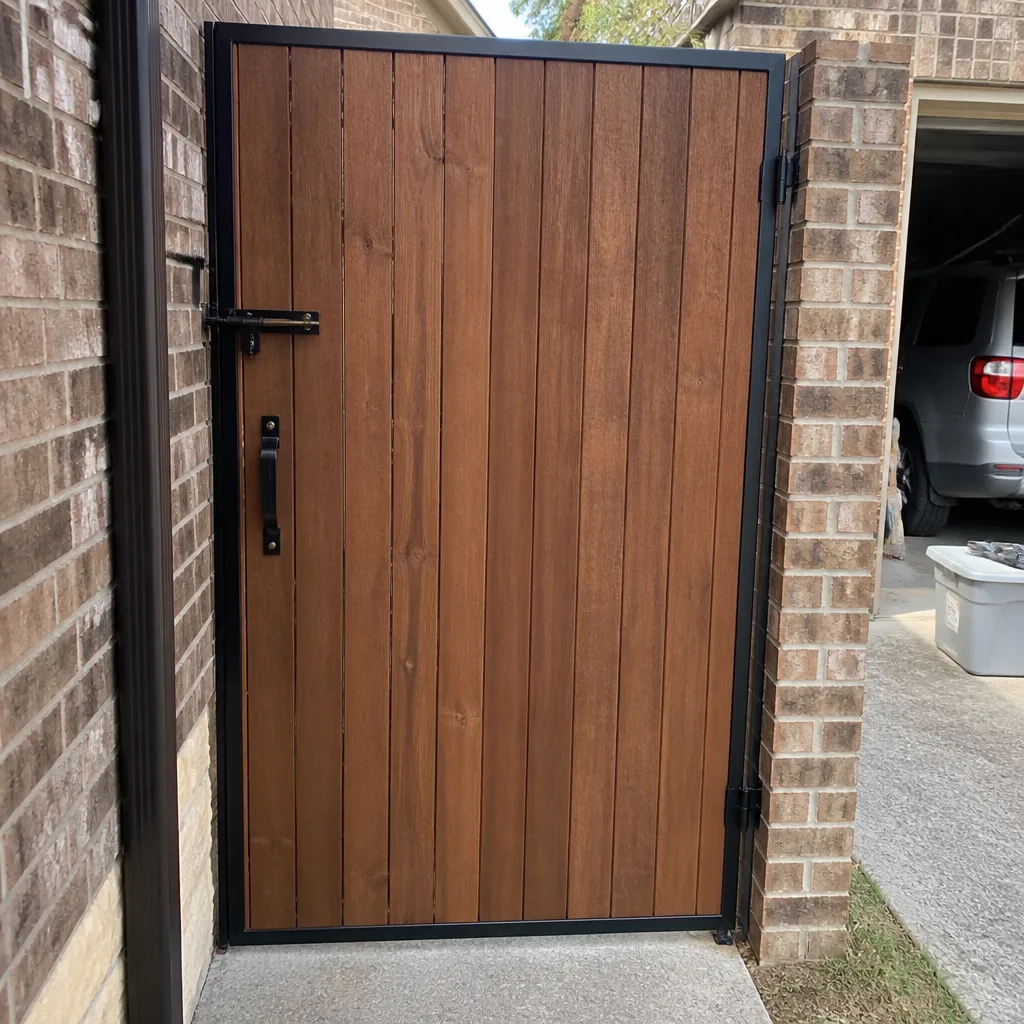 After
AfterGate Repair Maintenance Checklist for Denton Homeowners
Hal has pulled up to gates that hadn’t been touched since installation. Bolts finger-loose, hinges bone dry, posts rocking an inch in the ground. The homeowner had no idea anything was wrong because the gate still opened every morning. Until the day it didn’t, and the car sat trapped in the driveway while the opener motor burned itself out trying to move a gate that had quietly seized. Most gate failures in Denton don’t start with a dramatic snap. They start with small, boring neglect that compounds for years, and by the time you notice, the repair bill has tripled. This checklist is built around what actually fails in this county: clay soil that shifts posts out of plumb, summer heat that cooks lubricants into varnish, and storm cycles that test every loose bolt you ignored. Run through it twice a year, spring and fall, and you’ll catch about 80% of problems before they cost you a tow truck or a new opener.
Quick Answer
A Denton-specific gate maintenance checklist means checking hinge torque with a wrench (not your fingers), testing posts for movement with a level against Denton’s shifting clay soil, lubricating with heat-rated products that won’t seize above 100°F, and testing automatic opener safety systems twice a year. Run the full checklist every spring and fall, log what you find with photos, and call our Gate Repair services when a post moves more than a quarter inch or a hinge bolt won’t hold torque. Doing this consistently catches hinge wear, post lean, and opener limit drift before they become driveway-stranding failures.
Table of Contents
- The Hinge Torque Check Most Homeowners Skip
- The Clay-Soil Post Rock Test
- Lubricants That Survive a Denton Summer
- Automatic Opener Checks Manual Checklists Miss
- Weld Joints, Pickets, and Rust: What to Inspect
- How to Photograph and Log Your Findings
- Your Twice-a-Year Routine, Step by Step
The Hinge Torque Check Most Homeowners Skip
Here’s the thing about gate hinges: hand-tight is never tight enough. A bolt that feels snug to your fingers can be 20 to 40 foot-pounds below what it needs to hold a 400-pound gate through a north Texas windstorm. The vibration of daily operation, combined with the slight flex every gate experiences when it opens and closes, works bolts loose gradually. By the time you can wiggle a hinge by hand, the bolt has been loose for months, and the hinge leaf has been wearing an oval into the post or the gate frame.
What you’re checking here is simple. Put a wrench on every hinge bolt, not just the ones you can reach comfortably. A half-inch bolt on a residential gate hinge typically needs 40 to 60 foot-pounds of torque. That’s firm pressure on a standard wrench, not white-knuckle straining, but absolutely not finger-snug. In our experience in Denton, we find hinge bolts loose on roughly half of the service calls where the gate was installed more than three years ago and never checked. The fix takes ten minutes. The neglect costs hinge replacement, which means cutting and welding.
What Correct Torque Feels Like
- Finger-tight: You can turn it without a tool. That’s loose enough to wear the hole oval within a season. Add a wrench and tighten.
- Hand-wrench firm: The bolt resists further tightening with moderate pressure on a 12-inch wrench. This is usually in the 40 to 60 foot-pound range for a 1/2-inch bolt. That’s your target.
- Spring-loaded movement: If the gate bounces or shifts when you push on it laterally and the bolts are tight, you’ve got a different problem, likely a worn hinge pin or elongated mounting holes. That’s a call to a professional, not a tightening job.
Check the hinge-to-post bolts and the hinge-to-frame bolts. They loosen at different rates because the post side bears more of the gate’s weight. And if you find any bolt that won’t hold torque because the hole has wallowed out, stop tightening. You’re not fixing it; you’re making it worse. That’s a hinge replacement or an on-site welding repair, and those are jobs where gate repair in Denton beats a band-aid every time.
The Clay-Soil Post Rock Test
Denton sits on expansive clay soil. It swells when it rains and shrinks when it dries, and that cycle pushes and pulls at every post in the ground. A gate post that was perfectly plumb in March can be leaning a half-inch by August just from the soil drying out. This is the single most common structural issue we see on gates in Denton neighborhoods, and it has nothing to do with the quality of the original installation. It’s the ground itself, doing what clay does.
The test takes ninety seconds and all you need is a four-foot level and something to mark a reference point. Place the level vertically against the hinge post, flat against the side facing the gate’s weight. Read the bubble. If it’s leaning more than a quarter inch over four feet, you’re entering “watch it closely” territory. If it’s more than a half inch, act now. A post leaning half an inch under load is already shifting its entire hinge geometry, which means the gate is sagging at the latch corner and every cycle is wearing the hinges unevenly.
Step-by-Step: The Post Rock Test
- Wait for a dry spell, at least five days without rain. Wet clay swells and can temporarily plumb a post that will lean again when the ground dries. You want the worst-case reading.
- Set the level against the hinge post on the side toward the gate. Read the bubble with the gate closed, then again with the gate full open. The load changes, and so can the reading.
- Mark the ground where the post enters the soil with a pencil line or tape. Push firmly on the post at waist height. Watch for movement at the base. Any visible shift at the soil line means the post footing has failed or is failing.
- Repeat on the latch post and on any mid-span support posts. A three-post gate can hide a loose post for years because the center post steadies it.
- Log the reading. A quarter inch this season and a quarter inch next season means you’ve got a pattern, and you’re going to need a new footing eventually. A stable half-inch is a priority. An eighth-inch with no base movement is normal for Denton clay and nothing to lose sleep over.
When the post does need work, a proper fix means digging out the old footing, re-setting the post in concrete that goes below the frost line and anchors into undisturbed soil, and re-hanging the gate. Some companies will tell you the post is fine and just adjust the hinges. Fix the panel without the post and you’ll fix it twice. We’ve welded and re-set enough posts in Denton to know the difference, and the difference shows up in whether the gate still latches two summers later.
For a look at what a proper post set and gate hang entails, see our page on gate installation in Denton. The standards that apply to a new install are the same standards that apply to fixing a leaning one.
Lubricants That Survive a Denton Summer
A Denton July pushes past 100 degrees routinely, and a metal gate hinge in direct sun gets considerably hotter than the air temperature. The lubricant you bought at the big-box store because it said “all-purpose” on the can is going to break down under that heat. It thins out, drips off, and whatever’s left oxidizes into a sticky film that gums up hinge pins and roller bearings. By August, a gate that swung fine in May feels like it’s moving through mud, and the opener motor is pulling twice the amperage it was designed for. Heat kills motors that way: slowly, through friction and load they were never meant to carry.
What you want is a lubricant rated for high-temperature metal-on-metal contact. A dry-film graphite spray works well on hinge pins and won’t attract dust. A synthetic grease with a dropping point above 400°F is what you want for roller bearings and tracked slides, not a lithium grease that starts to break down around 250°F. WD-40 is a solvent and a water displacer; it’s not a lubricant and never was, despite what the can has been suggesting for fifty years. Using it on gate hinges in Denton means re-lubricating monthly and still watching the metal gall because the film strength isn’t there.
Lubrication by Component
- Hinge pins: Dry graphite or a silicone-based lubricant with a rated temperature range above 300°F. Apply a small amount, cycle the gate, and wipe the excess. Less is more; too much just collects grit.
- Roller bearings and truck wheels: Synthetic grease, applied to the bearing surface, not the track. The track should stay clean and dry. Grease on the track collects dust and forms a grinding paste.
- Slide tracks and guide rollers: Silicone spray, light coat, wiped dry. Never grease a slide track.
- Opening mechanism arms and joints: Synthetic grease at the pivot points only, with a wipe-down after cycling. You’re protecting metal, not inviting dust.
- Chains and sprockets on openers: A light machine oil or a chain-specific spray. These run hot and in the open, and they need to shed debris, not hold it.
If you’re lubricating a gate with an automatic opener and the gate is moving slowly or laboring, stop and check the load before you lubricate. Sometimes the problem is an opener that’s seen fifteen Denton summers and its motor is weak. That’s a different kind of repair, one that belongs in the gate motor and opener conversation, not the maintenance conversation.
Automatic Opener Checks Manual Checklists Miss
Most gate maintenance checklists floating around the internet were written by people who’ve never once opened an opener cabinet, unlike our more guides & resources. They’ll tell you to oil the hinges and call it a day. Meanwhile, the components that actually stop the gate when a kid runs through, or reverse it when the neighbor’s dog stands in the swing path, are drifting out of adjustment. On an automatic gate, those safety systems are not accessories. They’re the difference between a gate and a machine that can hurt someone. In Denton, where automatic gates are standard on rural acreage properties, ranch entries, and an increasing number of suburban driveways, those safety checks matter.
Automatic Gate Safety and Function Checklist
- Test the safety edges and photocells every season. Wave an object (a gloved hand, a rolled-up jacket) through the gate path while it’s closing. The gate should stop and reverse immediately. If it hesitates, pushes through, or ignores the input, the safety edge or the photocell circuit has a fault, and that’s a call-the-guy-today situation.
- Watch the limit switches. Close the gate and listen to the motor. If it clicks hard against the stop, if the gate bounces back, or if the motor keeps running for a beat after the gate stops, the limits need adjustment. A motor that runs against a closed gate is a motor that’s heating up and wearing out fast. LiftMaster, FAAC, Mighty Mule, and Elite all have slightly different limit adjustment procedures. The owner’s manual covers it, but if you’re not sure, a service call is cheaper than a replacement board.
- Check the battery backup panel. Not every opener has one, but if yours does, it hasn’t been cycled since it was installed and it’s probably dead. A dead backup battery means a power outage leaves your gate stuck closed, and you’re climbing over the fence or hand-releasing the opener in the dark. Cycle the battery at least twice a year. If it doesn’t hold a charge through a few open-close cycles, replace it before thunderstorm season.
- Exercise the manual release mechanism. The red handle, the keyed lock, the chain pull: whatever your model has. If the motor dies and you can’t release the gate, the gate isn’t a convenience anymore. It’s a wall. Test it quarterly. It takes thirty seconds.
- Listen to the motor. A healthy opener has a smooth, steady sound. A motor that surges, drones, or shifts pitch under load is telling you the gate is binding somewhere. That binding might be a hinge, a wheel, a track, or a post that’s moved. Fix the mechanical problem before the electrical one becomes permanent.
Nine times out of ten, when a Denton homeowner replaces an opener, the opener didn’t die of old age. It died because the gate got heavy and the motor ran against that extra resistance until it burned out. The motor was a symptom. The gate was the disease. That’s the pattern we see with every major brand we service, from LiftMaster to FAAC.
Weld Joints, Pickets, and Rust: What to Inspect
A steel gate in Denton lives outside, which means it lives in an environment that wants to corrode it. Morning humidity, afternoon sun, seasonal storms, and the occasional north Texas freeze cycle are all working on the metal. The gate can look fine from the driveway and still be failing quietly at the joints, where the welds hold the frame together and where the pickets meet the rails.
Walk the full length of the gate and look at every weld point. Not a casual glance, a close look from about two feet away. You’re looking for hairline cracks radiating from the weld, rust staining that runs from a joint, or a weld bead that looks different from its neighbors. A crack in a weld on a lower rail is a structural issue that will spread. A cracked weld on the top rail, where the gate’s weight hangs from the hinges, is an emergency. Catching it early often means a weld re-pass on site. Catching it late means the gate folds in the middle.
Rust Inspection Guide
- Surface rust: Light, dust-like oxidation. Wire-brush it, hit it with a rust-converting primer, and topcoat with a paint meant for metal. A Saturday morning job if you catch it early.
- Pitting rust: Small craters you can feel with a fingernail. The metal is losing thickness. Treat the spot as above, but know that a heavily pitted area is already compromised and may need a patch plate welded in.
- Through-rust: Holes, flaking layers, or places where the metal flexes under pressure. That section is done. A professional will cut out the rot and weld in new material, or replace the picket or rail. When we do this work in Denton, we do it on-site, because hauling a gate to a shop to fix a twelve-inch section of rust is a waste of the homeowner’s time and money.
Check the bottom rail especially closely. It sits closest to the ground, gets the most splash-back from rain, and in Denton’s clay soil it can sit in standing water after a heavy storm. Most rust-through starts at the bottom rail, and from there it migrates to the hinge-side stile. A gate sags in the hinge post, not in the middle, and a rusted bottom rail feeds exactly that failure.
How to Photograph and Log Your Findings
Memory is a bad maintenance log. You’ll finish the spring checklist, find three small problems, tell yourself you’ll keep an eye on them, and by fall you won’t remember whether that post was leaning a quarter inch or you imagined it. Photographs and notes solve that. They give you a baseline to compare against, and they give whoever works on your gate a starting point that’s a lot more useful than, “It’s been making a noise for a while.”
You don’t need a complicated system. A phone camera and a note on the same phone is plenty. What matters is that you do it the same way every time so the comparisons hold up.
A Simple Photo Log That Works
- Photograph the whole gate from the same two angles every season. One from the driveway side, one from the street side, straight on, whole gate in frame. These wide shots show changes in alignment over time that close-ups will miss.
- Photograph each hinge assembly close-up. Hinge plate, bolts, pin, and a small piece of the surrounding post and frame. These are your baseline for bolt creep and rust formation.
- Photograph the gap at the latch corner. The space between the gate’s latch edge and the post or the other gate leaf. If that gap changes season to season, the gate is sagging, full stop.
- Hold the level against the post and photograph the bubble. Yes, this feels like overkill, and yes, it’s exactly the kind of record that tells you later whether the post moved or the camera angle shifted.
- Write a one-line note with the date and anything you found. “Post rock test: eighth-inch, no base movement.” “Hinge bolts: all torqued.” Three seasons of notes like that and you have a maintenance history most gate companies would love to see.
When you do call a professional, that log gives them a real picture. It’s the difference between a diagnosis that starts from scratch and one that starts from evidence. If you’ve got a log and a written estimate from another company, you can get a free second opinion on it from Gatewood Fence & Gate. Hal has been looking at gates in Denton since 2001, and he’s happy to look at yours too. The Gatewood Fence & Gate home page has the shop’s published address and license number if you want to verify who you’re dealing with before you call.
Your Twice-a-Year Routine, Step by Step
Here’s the whole routine, condensed into something you can knock out in under an hour on a Saturday morning. Run it every spring, around April, and every fall, around October. The spring check catches winter freeze damage and preps the gate for summer heat. The fall check catches summer heat damage and preps the gate for winter weather. Together they cover the two failure peaks of the Denton calendar.
Spring Checklist: April
- Torque every hinge bolt with a wrench. Tighten to firm-resistance spec, not finger-snug.
- Run the post rock test on all posts. Log the readings.
- Lubricate hinge pins, bearings, and opener pivot points with heat-rated products. Wipe excess.
- Test the opener’s safety edges and photocells. They sat cold and damp all winter; verify they still respond.
- Check the battery backup. Cycle it. If it’s dead, replace it before storm season, not after.
- Inspect all welds closely, especially the bottom rail, for new cracks or rust bloom.
- Photograph everything and log it.
Fall Checklist: October
- Re-torque hinge bolts. The summer heat cycles have had months to loosen them.
- Re-run the post rock test. Pay special attention if this summer was wet; clay swells in wet weather and the posts shift.
- Re-lubricate. Summer heat breaks down whatever you applied in spring; it’s time for a fresh, light coat.
- Test the manual release. Freeze season is coming, and you don’t want to discover the release is stuck on a morning the opener won’t work.
- Check the opener limits and clutch force. A gate that reversed fine in May can be off by October.
- Check for new rust. Treat surface rust before winter moisture locks in the damage.
- Photograph and log, and compare against your spring log. Changes tell you what to watch over the winter.
This is a living checklist, not a one-time inspection. The real value accumulates over seasons, as you build a record of what’s normal for your gate on your property in your corner of Denton. What’s normal for a gate in a shaded neighborhood near the university is different from what’s normal for a gate on open acreage northeast of town. The soil, the sunlight, the wind exposure: they all shape how a gate ages.
Common Mistakes to Avoid
- Using WD-40 as a lubricant. It displaces moisture and temporarily loosens things, which feels like a solution, but it leaves almost no lasting film. Within a month, the hinge is drier than before and attracting more grit.
- Tightening hinge bolts by feel with your fingers. Hand-tight is a preload, not a torque spec. If you don’t put a wrench on it, you haven’t tightened it.
- Greasing the slide track. Grease on a track turns into grinding paste the first time the wind blows dirt across it, and that’s roughly every afternoon in Denton. Silicone spray or nothing on tracks.
- Ignoring post leaning because the gate still opens. The gate always still opens right up until it doesn’t. By then the hinges are damaged, the latch is misaligned, and the repair is three times what the post re-set would have been.
- Never testing safety edges because they “seem okay.” Safety edges fail silently. The gate keeps opening and closing, and the only time you find out the edge is dead is when it doesn’t stop. Test it twice a year, and don’t skip it because it’s tedious.
- Assuming a loud opener is normal. It’s not. It’s a gate that’s gotten heavy, or a motor that’s failing, or both. The noise is the gate asking for maintenance in the only language it has.
- Waiting until the gate breaks to call anyone. By the time a gate fails, the component that failed has often been failing for a year. The homeowners who run this checklist don’t have gate emergencies; they have gate maintenance, which is a lot cheaper and never happens at 7 a.m. on a workday.
When to Call a Professional
Some things on this checklist you can handle with a wrench and a can of graphite. Some things you shouldn’t touch. A post that rocks at the base, a hinge bolt that won’t hold because the hole has wallowed out, a weld crack that’s growing, an opener that’s grinding or sparking, a safety edge that won’t reverse the gate: those are professionals’ territory. A gate is a heavy thing under tension, and a snapped hinge or a dropped panel does real damage to people and property. Before starting any project, review Gate Repair Permits, Codes & Inspections in TX: What You Need to Know. If you’re looking at any of these flags, stop the DIY and make a call. Gatewood Fence & Gate offers free estimates in Denton. Call (940) 394-8744 and a live person answers, day or night. Not a voicemail, not a recording: a person who knows gates.
Frequently Asked Questions
Twice a year: once in April and once in October. The spring check catches winter damage and preps for summer heat, and the fall check catches summer damage and preps for winter. Gates on clay soil or in exposed, windy locations benefit from adding a quick visual check after heavy storms.
Post movement from expansive clay soil. Denton’s soil swells with rain and shrinks in drought, and that cycle works posts out of plumb over time. A leaning post throws off the hinges and the latch, and the gate starts to bind and sag. It’s so common that we check it on every call, before we even look at the gate hardware.
Don’t. WD-40 is a water displacer and a light cleaner, not a long-term lubricant. In Denton’s summer heat it evaporates quickly and leaves the hinge drier than before, which accelerates wear. Use a dry graphite for hinge pins and a synthetic grease rated above 300°F for bearings.
If you do it yourself with the right products, under $30 and an hour of your time twice a year. If you have a professional service the gate, a lubrication and inspection visit in Denton typically runs $80 to $150 depending on gate size and opener type. That’s a small fraction of what a seized hinge or a burned-out motor costs to replace.
The opener labors. It sounds strained, it moves slower than it used to, it trips the breaker or blows a fuse, or it starts and stops erratically. Most of the time the opener isn’t dying on its own; it’s fighting a mechanical problem like a binding hinge or a leaning post. Fix the mechanical issue first, and the opener often runs like new.
Yes. There’s no trip charge inside the county, and if the repair is over $200, we’ll take $40 off right away. We’d rather catch a small problem early than wait until it’s a full replacement job. Call (940) 394-8744 for an exact quote, and the price we give you is the price you’ll pay, agreed before any work starts.
The Bottom Line
A gate maintenance checklist that doesn’t account for Denton’s clay soil, 100-degree summers, and storm cycles isn’t worth the paper it’s printed on. The good news is that the real checklist, the one built around what actually fails here, takes about an hour twice a year and costs almost nothing to run. Torque the hinges with a wrench, test the posts with a level, use the right lubricant, exercise the safety systems, and log everything with photos. Do that every spring and fall, and you’ll catch the hinge wear, post lean, and opener drift before they strand your car in the driveway. We’ve been fixing gates in this county since 2001, and the homeowners whose gates last longest aren’t the ones with the most expensive hardware. They’re the ones who look at their gate twice a year, with a wrench and a level in hand.
Written by Hal Gatewood, Owner at Gatewood Fence & Gate, serving Denton since 2001.