
Last updated August 26, 2026
Free on-site gate assessment - hinges, posts, and your LiftMaster or Nice gate operator checked before anything is quoted
The assessment is free and the quote is the invoice.
 Before
 After
After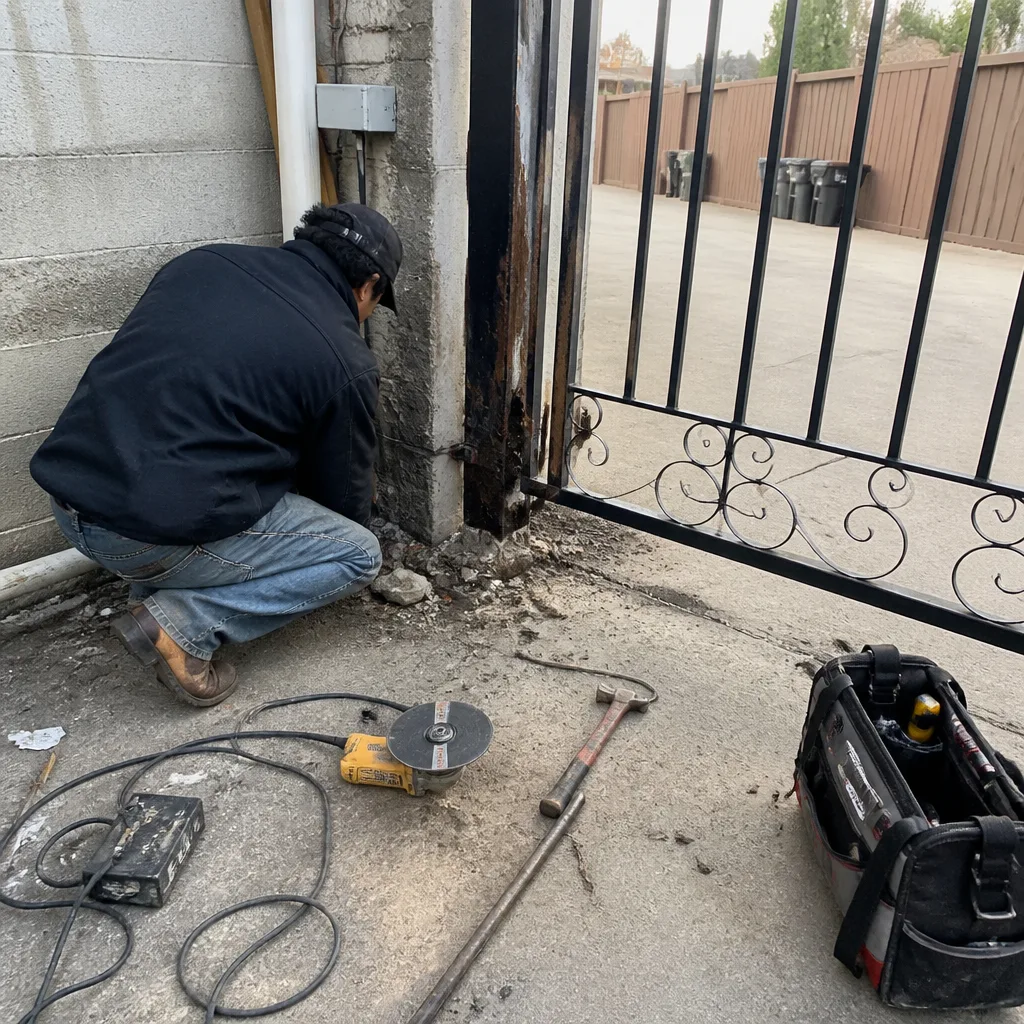 Before
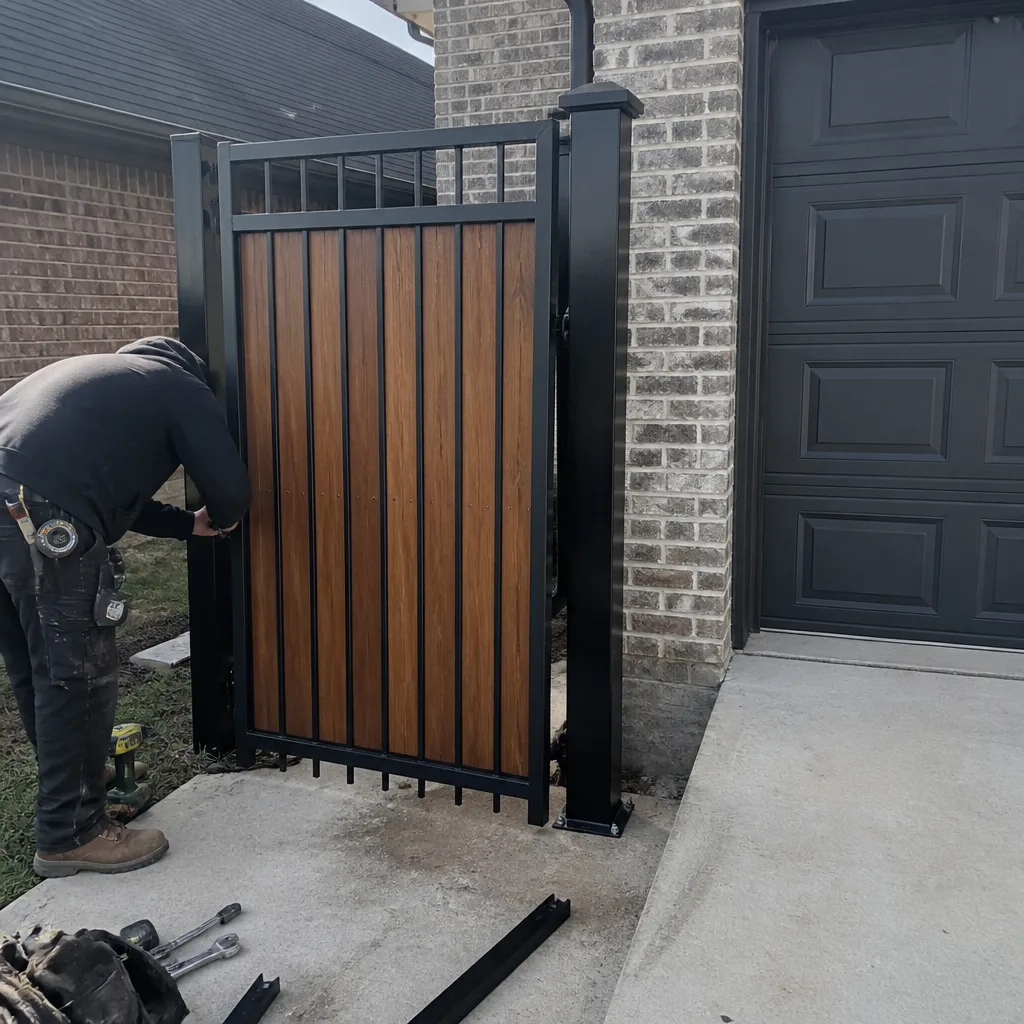 After
After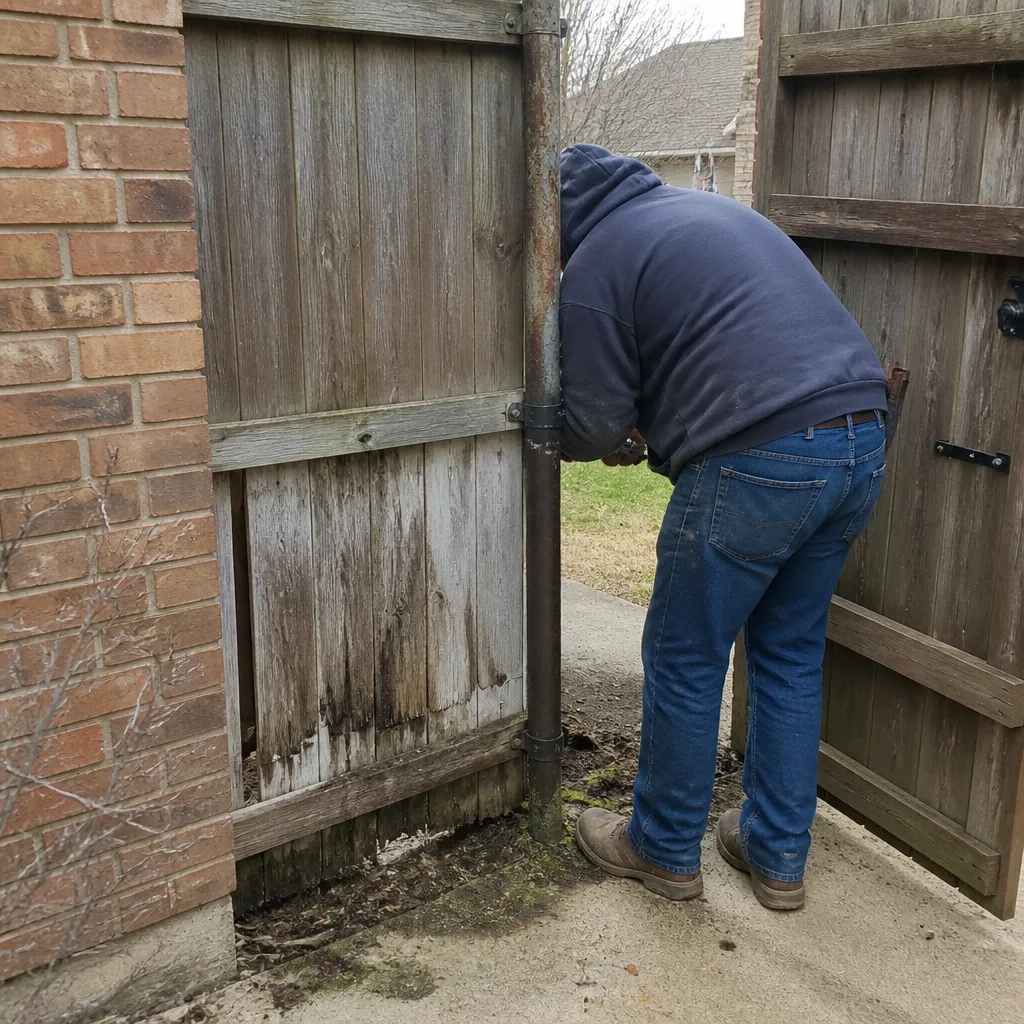 Before
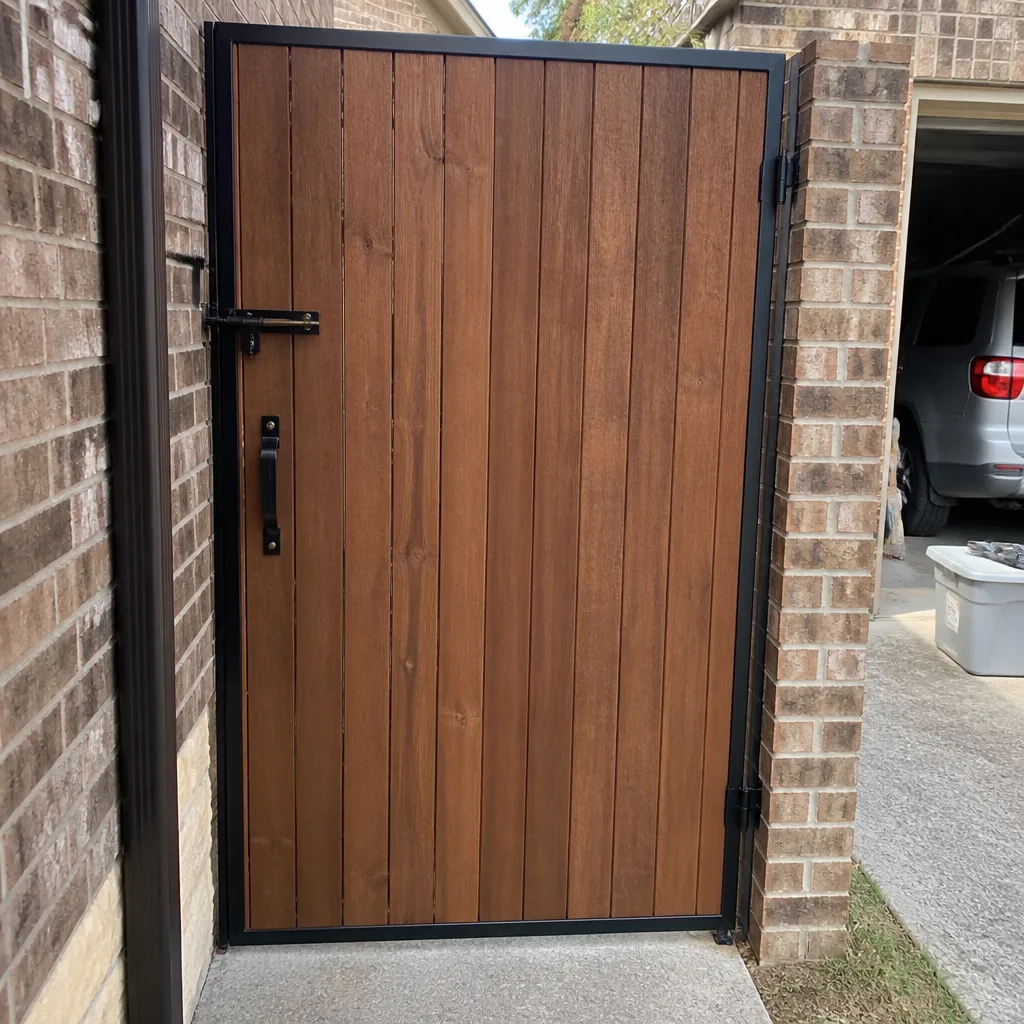 After
AfterDIY vs Professional Gate Repair: The Denton Homeowner’s Decision Guide
Most gate repair advice online is written by people who sell gate parts, not by people who fix gates. So they tell you everything is a simple swap. It isn’t. Here’s the number nobody shares: in our experience, roughly a third of the “broken gate” calls we run in Denton are actually broken posts wearing a broken-gate costume. The latch fails, the opener strains, the gate drags on the ground, and the homeowner replaces the latch, the opener, and half the hardware before realizing the post shifted six months ago and has been taking everything else down with it. This guide draws the line between what a Denton homeowner can fix with a socket set and a Saturday afternoon, and what needs a truck full of tools and a person who has set posts in Texas clay for two decades.
Quick Answer
DIY gate repair in Denton makes sense for component-level fixes you can see and touch: a latch, a hinge that bolts on, a keypad, a battery. It stops making sense the moment the problem involves the structure - a post that moves, a frame that has sagged out of square, or a weld that has let go under load. Those jobs require lifting, bracing, welding, and concrete work that most homeowners don’t have the equipment to do safely, and a botched structural fix can turn a $300 repair into a $2,500 replacement.
Table of Contents
- The Two Kinds of Gate Problems: Component vs Structural
- What a Confident DIYer Can Honestly Handle in Denton
- The Tool Reality Check: What a Post Reset or Frame Weld Actually Takes
- “I Have a Welder” Is Not the Same as “I Can Weld a Gate Under Load”
- The Honest Time Cost Math of DIY Gate Repair
- How DIY Gate Repairs Interact With Your Homeowner’s Insurance
- Which Automatic Gate Opener Repairs Are DIY-Legal (and Which Aren’t)
- What Denton Climate and Soil Do to Gates That Other Guides Ignore
The Two Kinds of Gate Problems: Component vs Structural
Every gate failure falls into one of two categories, and the category determines everything: the tools you need, the time it will take, the risk involved, and whether you should touch it at all. Most homeowners don’t distinguish between them until they’re halfway into a repair and realize they have the wrong problem.
Component-level repairs: the gate is still square, something bolted to it failed
A component repair means the gate itself - the frame, the posts, the way it hangs - is still doing its job. Something attached to it wore out or broke. Think of it like a car: if your windshield wiper blade tears, you replace the blade. You don’t replace the car.
Examples of component-level gate repairs:
- A latch or lock set that won’t catch anymore because the internal spring wore out
- A keypad that stopped responding, or a remote that lost its signal
- A hinge that squeals or has a worn bushing but is still bolted tight
- An opener arm that disconnected from the gate bracket
- A battery in a solar-powered opener that won’t hold a charge
- A wheel or roller that has worn flat on a sliding gate
These are the repairs where a homeowner with basic tools and a willingness to read the directions can genuinely save money. The gate still hangs true. Nothing is under dangerous tension. You unbolt the old part, bolt on the new one, and go back inside for sweet tea.
Structural problems: the gate is no longer square, and nothing you bolt on will fix it
Structural problems are different in kind, not degree. The post has leaned. The frame has racked out of square. A weld has cracked and the gate is now flexing in a way it was never designed to flex. The hinge post is slowly pulling out of the ground under the weight of the gate.
Here’s what the parts catalogs won’t tell you: when a gate sags, the sag lives in the post, not in the middle of the gate. A gate is a rigid rectangle. It can’t sag on its own. If the latch side is dragging on the ground, either the hinge post leaned, the hinges bent, or the frame itself let go at a weld. Fixing the symptom - adjusting the latch, shimming the hinge, cranking on a turnbuckle - doesn’t touch the cause. Fix the panel without the post and you’ll fix it twice.
Structural repairs require lifting the gate off its hinges, resetting or replacing posts in concrete, bracing the frame, welding, and re-hanging the whole assembly so it sits level and swings free. That’s not a socket-set job. That’s a “call someone with a truck and a welder” job, and we’ll get into what that equipment actually looks like in a moment.
For a deeper look at where component work ends and structural work begins, our Gate Repair in Denton page walks through the common failure points we see on local properties.
What a Confident DIYer Can Honestly Handle in Denton
Hal is not going to tell you to call a pro for everything. He has watched homeowners successfully swap a latch set in twenty minutes and do a cleaner job than some repair companies he’s followed behind. If you’re comfortable with basic hand tools, there are several gate repairs you can knock out without paying a service call, and our more guides & resources can walk you through them.
1. Replacing a latch or lock set
Most residential gate latches are held on with four bolts or screws. If the gate still closes and the post is solid, a new latch is a twenty-minute job. Take the old one off, take it to the hardware store with you so you get the right throw and bolt pattern, and install the new one where the old one sat. The trick is making sure the latch engages fully - a latch that only half-catches is one that will pop open in the next big north Texas wind.
2. Reprogramming or replacing a keypad or remote
If your opener works from the remote inside the house but not the keypad at the gate, the opener itself is likely fine. Keypads fail, batteries die, codes get lost after a power surge. Most keypads on Mighty Mule and LiftMaster systems can be reprogrammed in under ten minutes following the instructions printed in the manual. If the keypad is physically sunbaked and cracked after five Texas summers, replace it with the same model and pair it to the opener. This is a plug-and-play repair.
3. Tightening loose hardware
Gates take a beating from wind and daily use. Bolts back out. Hinges shift. A socket set and a tube of blue threadlocker will fix a surprising number of rattles and catches. Walk the gate once a season and tighten everything that bolts to something else. If a bolt keeps working loose, that’s a sign the load on it is wrong - which circles back to a structural problem - but the first tightening is free and yours to do.
4. Replacing worn rollers on a sliding gate
Sliding gates ride on rollers that flatten over time. If your gate still slides but grinds or shudders, check the rollers. On many residential sliders they’re cartridges held in with a bolt or pin, and a replacement set costs less than sixty dollars. This is a ground-level job with no lifting and no tension.
5. Cleaning and lubricating the track and hinges
Half the “my gate is dying” calls we get in Denton are fixed with a wire brush and a can of dry silicone spray. Slides get packed with dirt and leaf litter. Hinges get dry and creaky. Clean the track, clear the debris, and lubricate pivot points twice a year. If the gate still struggles after that, the problem is bigger than lubrication.
None of these repairs involve lifting the gate, cutting metal, pouring concrete, or releasing a torsion spring. That’s the line. When the repair stays on the surface, DIY is reasonable. When it goes into the post, the frame, or the spring, the math changes.
The Tool Reality Check: What a Post Reset or Frame Weld Actually Takes
Let’s talk about what a structural gate repair actually requires, because the parts-store version and the real-world version are not the same thing. A homeowner watching a YouTube video sees a guy reset a post in eight minutes and thinks, “I can do that.” What the video doesn’t show is the equipment, the cleanup, and the three trips for material.
A proper post reset on a Denton gate involves:
- Lifting the gate off the hinges. A 14-foot steel driveway gate can weigh 300 to 600 pounds. One person cannot safely lift it. Two people struggle. You need jacks, blocking, or a third set of hands.
- Removing the old post and its concrete footer. A buried post in Texas blackland clay often has a football-shaped plug of concrete three feet deep and two feet wide. Getting it out means digging, breaking it up, or hauling the whole ball out with the post still in it. That’s a half day of hard labor before the new post goes in.
- Setting the new post plumb and in the right place. Not “close.” The hinge post has to sit exactly where the old one sat, exactly vertical in both planes, and it has to stay there while the concrete sets. A post that’s half a degree off at the base is an inch off at the gate latch.
- Pouring and curing the footer. A gate post footer in clay soil should be deeper than the frost line (not much of an issue in Denton, but a factor) and wider than the post for lateral support. You’ll need bags of quick-set concrete, water, a mixer or wheelbarrow, and bracing to hold the post plumb while it kicks.
- Re-hanging the gate and adjusting the swing. Once the concrete sets, the gate goes back on and has to be dialed in: level, square, swinging free, latching solid. This is where amateur work shows. A gate that binds at the latch or drags at mid-swing is a gate that will wear out its new hardware in six months.
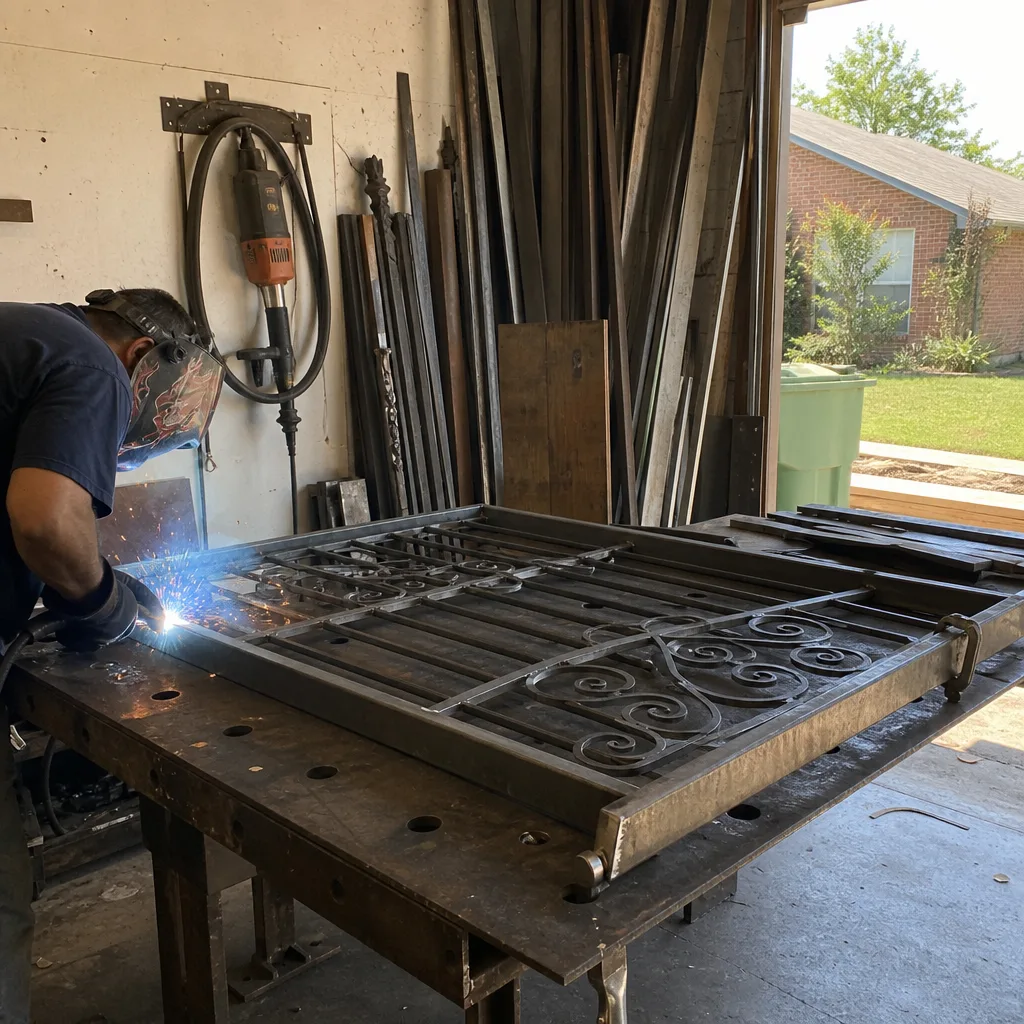
Now add welding to the list. A cracked frame weld means the gate has been flexing under its own weight or an opener has been pushing it past its design. Fixing it properly requires grinding the crack out, clamping the frame back to square, welding the joint, and often plating over the repair to reinforce the area. That’s a welding machine, a grinder, steel plate, clamps long enough to span a gate frame, and the experience to weld a joint that is under load the moment you hang the gate back on it.
The point isn’t that a homeowner can’t buy or rent this equipment. The point is that by the time you’ve rented a welder, bought the steel, broken two wheelbarrows, and spent a Saturday and most of a Sunday, you’ve paid for a professional repair in parts, rental fees, and your own weekend. And the professional carries the warranty. You carry the coffee stain on the new concrete.
“I Have a Welder” Is Not the Same as “I Can Weld a Gate Under Load”
Everyone who owns a wire-feed welder thinks they’re a fabricator. Hal has a shop full of welding equipment, and he will be the first to tell you that welding a bracket onto a trailer is not the same thing as welding a gate frame that is already under weight, already moved out of square, and full of stress from years of Texas winds and opening cycles. The difference is what happens when the weld fails.
A gate weld is a structural weld. It’s holding a moving load. Every time the gate opens and closes, every gust of wind, every kid who climbs on the gate, the weld gets cycled. A weld with poor penetration, a cold lap, or a crack hidden under paint will hold for a while. Then it won’t. And when a structural weld lets go on a gate, the failure happens when the gate is in motion - swinging open for a car, sliding shut against a dog, hanging over a child’s head.
Welding a gate frame properly also requires understanding where the stress lives. A crack in the middle of a rail is often not the root problem. The root problem is a post that leaned, or a hinge that sagged, or an opener that was pushing too hard against a bound-up gate. Weld the crack and you’ll weld it again. The crack is a symptom. Our Gate Installation in Denton page explains how new gates are engineered to spread load across the frame and the posts, which is the principle a welded repair has to respect.
There’s also the matter of the welding itself. Welding zinc-plated or galvanized steel - which a lot of gate hardware is - produces fumes that will make you seriously sick without proper ventilation and a respirator. Welding vertically on a post while lying in the dirt under a gate is not the same as welding on a bench in the garage. And grinding a weld smooth while a gate is braced with jack stands is a good way to discover what a gate weighs. This is the kind of work where experience isn’t a nice-to-have. It’s the difference between a repair that lasts twenty years and one that fails next spring.
The Honest Time Cost Math of DIY Gate Repair
The DIY-versus-pro equation is usually framed as money, but the part nobody counts is time. Not just the hours spent turning wrenches. The diagnosis time, the parts sourcing, the second trip to the hardware store, the third trip to the hardware store, and the evening you spend staring at a half-disassembled gate wondering if it’ll be back together before dark.
Here’s what a realistic DIY component repair looks like in Denton for a first-timer:
- Diagnosis: 30-60 minutes watching YouTube videos and reading forums to figure out what’s actually broken. The forums will give you three different answers, and two of them are wrong for your gate.
- Parts sourcing: Another 45 minutes at the hardware store or scrolling parts websites. If your gate is older than a decade, the specific latch or roller may not be on the shelf, which means ordering online, which means waiting three to five days, which means the gate is in pieces until it arrives.
- The repair itself: 30-90 minutes if everything goes right. It rarely goes right the first time. Plan for a second attempt.
- The second trip to the hardware store: 30-45 minutes when you realize the new latch has a different bolt pattern, or you need a drill bit you don’t own, or the carriage bolts you bought are 3/8-inch and the holes are 1/2-inch.
- Cleanup and reassembly: 15-30 minutes.
Total for a simple latch replacement: two to four hours of a Saturday, plus whatever the parts cost, plus the frustration. A professional who has done this a thousand times shows up with the right latch in the truck, swaps it in fifteen minutes, and charges a flat rate that reflects the labor, not the learning curve.
The math gets worse for structural work. A post reset involves renting or buying an auger or digging bar, breaking out the old concrete, setting and bracing the new post, waiting for concrete to cure (which means the gate is off its hinges overnight, or for a weekend), and then re-hanging and adjusting. Realistically, a homeowner doing this for the first time is looking at one to two full weekends. A crew that does it every week is on site for four to six hours and leaves the gate swinging before dinner.
Then there’s the cost of the mistakes you didn’t know you were making. A post set half an inch out of plumb will wear out a new hinge set in a year. A weld with inadequate penetration will crack again next freeze-thaw cycle. The parts cost of redoing a botched DIY structural repair often exceeds the labor cost of having it done right the first time.
None of this is an argument against buying good tools and learning to work on your house. It’s an argument against learning on a 400-pound steel panel that will hurt you if it falls. Learn to swap the latch. Learn to rebuild the keypad. Call someone when the post starts moving.
How DIY Gate Repairs Interact With Your Homeowner’s Insurance
This is the section most DIY gate guides skip, and it’s the one that can cost you real money. Your homeowner’s insurance policy has language about owner-performed repairs and maintenance, and it matters more than most people realize until a claim is filed.
Most standard Texas homeowners policies cover sudden and accidental damage to structures on your property, including fences and gates, under the “other structures” coverage. That typically runs 10% of your dwelling coverage. A windstorm rips a gate off its hinges and damages the gate and the opener - that’s likely a covered loss, subject to your deductible.
But here’s the catch: insurance covers loss, not maintenance. If your gate post rotted at the base and the gate sagged and fell over, that’s a maintenance failure. It was gradual. It was preventable. The adjuster will call it wear and tear or deterioration, and the claim will be denied. The same applies to a gate that rusted through at a weld, or an opener that failed from years of pushing against a binding gate.
Where DIY work comes in is the “faulty workmanship” exclusion, and it’s worth reading your policy language. If you repair your own gate, the gate later fails in a way that damages other property - say, a gate falls on a neighbor’s car, or a mended weld lets go and the gate hits a pedestrian - your insurance company will ask who performed the repair. “I did it myself” changes the conversation. Faulty or negligent workmanship by the homeowner is generally excluded from coverage. You may find yourself personally liable for damages that a licensed professional’s liability insurance would have covered.
A repair performed by an insured, established gate company comes with a different chain of accountability. The company’s work carries a written warranty. The company carries liability insurance. If their weld fails, their insurance is on the hook, not your homeowner’s policy and not your personal assets. That’s the quiet argument for professional work on structural repairs: the risk transfer is real.
This isn’t to say every DIY latch replacement voids your coverage. A component swap that’s done to the manufacturer’s spec is ordinary maintenance, the same as changing your own oil. The line is structural work on a device that can injure someone if it fails. If the gate weighs enough to hurt a person or damage property, the repair is not a craft project.
Some automatic gate operators also come with their own requirements. An opener installed on a gate that doesn’t meet current safety standards - missing photoelectric sensors, no reversing mechanism, improper entrapment protection - may not be covered by the manufacturer’s warranty, and a resulting injury could expose the installer to liability. Let’s get into that next.
Which Automatic Gate Opener Repairs Are DIY-Legal (and Which Aren’t)
Automatic gates add a layer of hazard that a purely manual gate doesn’t have, and the line between what you can legally and safely repair yourself is drawn by voltage and by code. Here’s the split.
What you can DIY without crossing a line
- Low-voltage and battery-powered components: Most residential gate openers from brands like Mighty Mule, Ghost Controls, and the smaller LiftMaster units run on 12V or 24V DC. The control board, the keypad, the remote, the battery, the solar panel - these are low-voltage components. You can swap a battery, wire a new keypad, or replace a control board without an electrician’s license. The shock risk is minimal, and there’s no code inspection involved.
- Programming and settings: Adjusting the open/close limits, the auto-close timer, or the sensitivity can be done through the control board or a handheld programmer. Read the manual. Most problems that seem electrical are actually programming.
- Physical components not under tension: An opener arm that detached from a bracket can typically be reattached. A photo-eye sensor that got knocked out of alignment can be realigned. A chain or screw drive that needs lubrication can be lubricated.
Our Gate Motor & Opener in Denton page covers the common failure modes by brand and what they typically cost to fix, which helps you decide whether a repair is worth pursuing at all.
Where you should stop and call a licensed pro
- Line-voltage wiring: Some gate openers, especially heavier sliding gates and commercial-style operators, run on 120V or 240V line voltage. If the repair involves wiring between the breaker panel and the opener, the National Electrical Code applies, and in the city of Denton and most of Denton County, a homeowner pulling a permit and doing their own line-voltage work is a gray area at best. If you’re not sure whether the wire you’re touching is low voltage or not, stop.
- Entrapment protection systems: Automatic gate operators are subject to UL 325 and the relevant ASTM standards that govern entrapment protection. That’s the photo-eye sensors, the reversing mechanism, the pressure-sensing edges, and the warning signage. If you alter or bypass these - even temporarily - and someone gets hurt, you’ve created a serious liability for yourself. An operator that’s been working fine but suddenly crushes a trash can could have a failed reversing sensor, and the fix might involve the control board’s safety circuit, not just a new sensor.
- Opener replacement on a poor gate: This is the one homeowners don’t see coming. If your gate is saging, binding, or dragging and you replace the opener, the new opener will work against the same resistance that killed the old one. Opener manufacturers like FAAC and DoorKing will not honor a warranty on an opener installed on a gate that isn’t functioning properly. We’ve replaced openers in Denton where the actual problem was a post that moved three inches and the opener was the victim, not the culprit.
There’s also a practical line: an operator that’s been struck by lightning or hit by a power surge can damage not just the control board but the motor windings, the capacitor, and the safety sensors. You can replace a control board and still have a dead opener because the motor is fried. A diagnosis that requires testing components with a multimeter, understanding the control logic, and ordering parts from a distributor that only sells to dealers is no longer a DIY project.
What Denton Climate and Soil Do to Gates That Other Guides Ignore
Generic gate guides talk about gates in the abstract. A gate in Denton isn’t an abstract gate. It’s a gate that lives in north Texas, where the soil is blackland clay, the summers bake 100-plus days a year, the spring storms hit with 60-mile-per-hour straight-line winds, and the freeze days - few as they are - come on hard enough to snap brittle metal. The environment does real work on your gate, and understanding that work is the difference between a repair that holds and one that fails next season.
The clay soil problem
Denton County sits on expansive clay soil. It swells when wet and shrinks when dry. The soil under your gate posts doesn’t stay the same size from month to month. A post set in clay will heave slightly after a wet spring, settle slightly after a dry summer, and slowly work its way out of plumb over years. A gate that swings perfectly in October might drag in March, not because anything broke, but because the ground moved. This is why post depth and footing width matter so much on gate installations in this part of Texas - and why a post repair that doesn’t account for the clay will have the same problem again in a few years.
The heat and UV exposure
Texas sun is hard on everything. Keypads crack. Powder coating fades. Grease in hinges dries out and turns to cement. Control boards inside metal operator boxes cook to failure over a decade of 105-degree afternoons. Battery life in solar openers drops faster here than it does in the manufacturer’s test conditions. If your opener is in full afternoon sun, the battery and the control board are living on borrowed time after about five to seven years, regardless of brand.
The wind
Gates are sails. A 16-foot driveway gate catches a lot of wind, and north Texas spring storms push that wind hard. Every one of those gusts loads the hinges, the post, the welds, and the opener. This is why gates in Denton fail at the hinge post more often than anywhere else: the wind works the post back and forth in the clay, and one spring you wake up and the gate is dragging on the concrete. No latch adjustment fixes that.
The freeze days
It doesn’t take many hard freezes to expose flaws. A gate frame that has water sitting in a low spot will freeze, expand, and push open a crack that was only cosmetic. A weld with porosity rusts faster after a freeze-thaw cycle. An opener that barely pushed through the winter months has been quietly wearing its motor out, and it will fail in the first hot week of May. Denton doesn’t get the kind of winter that destroys gates, but it gets just enough to find the weak spots.
All of this is why the repair-first philosophy matters around here. A gate that was installed right for Denton’s conditions, with deep posts and proper bracing and hardware sized for the wind load, is repairable for decades. A gate that was set shallow in the clay by someone who didn’t know the soil will keep failing no matter what you bolt to it. Knowing which kind of gate you have is step one. If you’re not sure, we’ll come look at it and tell you straight. That’s the other thing about living where you work - you can’t tell a homeowner their gate is fine and avoid them at the grocery store.
Common Mistakes to Avoid
- Tightening hardware against a structural problem. If your gate sags and you fix it by cranking down on the hinges or adding a turnbuckle, you’ve treated the symptom. The post is still moving, and the tension you added is now working on the frame. Expect a crack at a weld within a year.
- Bolting a new opener onto a gate that doesn’t swing free. A new LiftMaster or Mighty Mule opener will burn itself out pushing against a gate that drags. The opener isn’t the repair. The gate is.
- Welding over a crack without grinding it clean. A weld over paint, rust, or an existing crack is a cold weld waiting to fail. It looks good for about six months.
- Setting a post in existing disturbed clay without proper compaction. You dig out the old post, drop in a new one, and backfill with the same loose clay you dug out. The post will settle and lean before the end of the year. The footer has to be poured or the base properly compacted in lifts.
- Ignoring the safety sensors after a repair. Homeowners will replace a control board, get the gate cycling again, and not bother re-checking that the photo-eyes still reverse the gate under load. That’s a $30 fix you skipped that can become a five-figure liability.
- Buying parts by what the gate “should” take instead of what it actually needs. Gate hardware isn’t universal. Taking a guess online because the description says “fits most gates” is how you end up with a latch that doesn’t throw far enough and a gate that pops open in the next norther.
- Underestimating the weight of the gate. A steel gate that looks manageable will pin you, crush a hand, or take out a fence panel when it falls. The moment you pull a hinge pin, you are the only thing holding that gate up. If you can’t deadlift the gate, don’t take it off its hinges.
When to Call a Professional
The gate post moves when you push on it. The gate drags on the ground at the latch side. A weld has cracked anywhere on the frame. The hinges are pulling screws out of the post, or the post itself is splitting. The opener trips its breaker, or the gate stops mid-cycle and reverses for no reason. The gate weighs more than you can comfortably lift. Your homeowner’s insurance policy has a “faulty workmanship” exclusion you’d rather not test. In any of these situations, the honest answer is that this is no longer a DIY project. Gatewood Fence & Gate offers free estimates in Denton - call (940) 394-8744 and Hal or one of his crew will come look, tell you what’s actually wrong, and give you a written price before any work starts. You can also start with our Gatewood Fence & Gate home page to see who we are and what we stand behind.
Frequently Asked Questions
Yes, for component-level repairs. If the problem is a worn latch, a dead keypad battery, a misaligned photo-eye, or a loose hinge bolt, a careful homeowner with basic tools can handle it. If the post is moving, the frame is cracked, or the gate is dragging on the ground, that’s structural work and needs equipment and experience that most homeowners don’t have. Start with the smallest possible repair. If that doesn’t fix it, stop and call someone who can diagnose it honestly.
Component repairs in Denton typically run $75 to $250 for parts and labor, depending on the part. Opener repairs run $180 to $450 for most residential units. A post reset or structural weld repair typically runs $300 to $900 depending on the gate size and whether concrete work or reinforcement plating is needed, and a full gate replacement starts around $1,200 to $2,500 for a standard driveway gate. These are ranges - every gate is different, which is why free estimates exist. Call (940) 394-8744 for an exact quote.
Most component repairs are done in under an hour from the time we arrive. A post reset or frame weld typically takes half a day, including allowing the concrete to set enough to re-hang the gate. We schedule the work in a window and show up in that window - you won’t sit around all day waiting. Emergency calls for a gate that won’t close are prioritized, because an open gate is a security problem, not just an inconvenience.
It can complicate a claim. Homeowner’s policies exclude damage caused by faulty workmanship or lack of maintenance. If a gate you repaired yourself later falls and damages property or injures someone, the insurance company can deny the claim and you’re personally exposed. A repair performed by an insured professional shifts that liability to the professional’s coverage. If you’re doing anything beyond a simple hardware swap, this is a real consideration.
We service the nine major residential and commercial gate opener brands: LiftMaster, FAAC, BFT, Linear, Viking, Ghost Controls, DoorKing, Elite, and Mighty Mule. If your opener was installed before 2005 and the manufacturer no longer supports the control board, we’ll tell you straight whether it’s worth repairing or time to replace. We’re certified on these brands and stock common parts locally.
No. There’s no trip charge for estimates inside Denton County. We come out, look at the gate, tell you what’s wrong, and hand you a written price. If you already have a written estimate from another company, we’ll give you a free second opinion before you sign anything. You’ll also get $40 off any repair over $200, and a permanent 10% discount if you’re a senior or veteran. The price is agreed before any work begins, in writing.
The Bottom Line
The DIY-versus-pro decision for gate repair in Denton isn’t about your competence or your tool collection. It’s about the category of failure. Component-level problems - a latch, a keypad, a roller, a battery - are fair game for a homeowner who wants to save money and learn the gate. Structural problems - a moving post, a cracked weld, a racked frame, an opener straining against a binding gate - are professional work, not because homeowners can’t learn, but because the cost of a mistake is measured in injuries, liability, and a gate that still doesn’t work next month. Know which problem you have before you start. If you can’t tell, call someone who can. Call (940) 394-8744 for a free estimate - Hal will tell you straight whether it’s a Saturday project or a truck job.
Written by Hal Gatewood, Owner at Gatewood Fence & Gate, serving Denton since 2001.